Using the Pathfinder Addin
The Pathfinder Addin allows ArcMap 10.x users to create Pathfinder projects and run routing calculations directly from ArcGIS.
When the addin is installed, a toolbar with menu options will be visible.

A typical addin workflow will follow these steps:
Add the relevant data as layers in your ArcMap document. Save the document.
Create a Pathfinder project with some selected data layers and set their constraint parameters.
Calculate the Pathfinder routing results, Resistance Map, Corridor Map and Path(s), which will get stored as local files and added to your ArcMap document.
Use these results to print maps or perform further analysis.
Access the project in the Pathfinder web application if you wish to use additional features like geoprocesses, analytics and reporting.
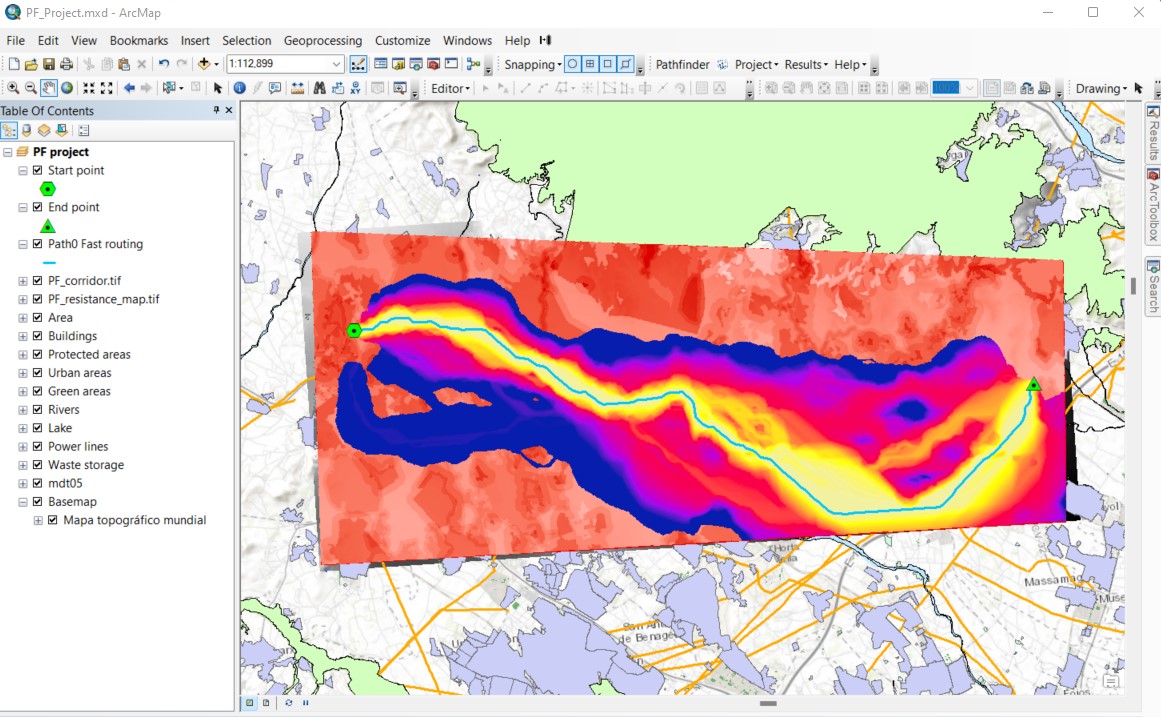
This image shows an example of routing results in ArcMap once the workflow is complete.
Login with a Pathfinder account
In order to use Pathfinder services, you will first need to authenticate with your Pathfinder credentials.
To log in, click on the Gilytics icon in the Pathfinder toolbar:

Enter your username and password in the Pathfinder Login tool.
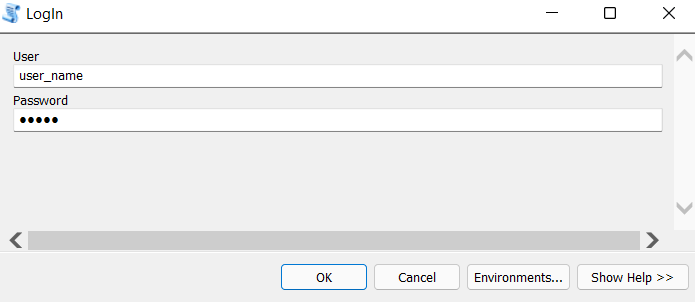
Click OK.
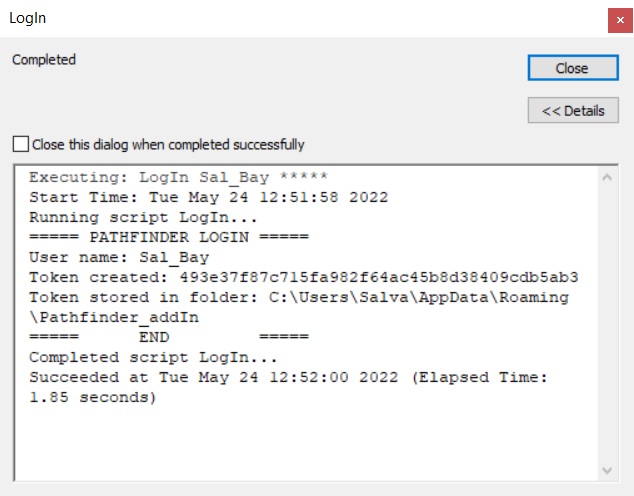
Once the login process is completed, close the geoprocessing dialog.
You can now create your Pathfinder project.
Note
The addin will remember your login credentials, so you won’t need to enter again the credentials in the next sessions.
If you try the menu commands without loging in first, the addin will prompt you to do so.
Disclaimer: the scenarios depicted in this manual do not represent actual customer projects or infrastructure proposals, and are presented for demonstration purposes only.
For more help, please contact Gilytics.